Managed Resources
By default the catalog component in the sample application uses a MySQL database running as a pod in the EKS cluster. In this lab, we'll provision an Amazon RDS database for our application using Kubernetes custom resources to specify the desired configuration required by the workload.
Let's explore the various Crossplane resources that we'll create. The first is an EC2 security group that will be applied to control access to the RDS database, which is done with a ec2.aws.crossplane.io.SecurityGroup resource:
apiVersion: ec2.aws.crossplane.io/v1beta1
kind: SecurityGroup
metadata:
  name: $(EKS_CLUSTER_NAME)-catalog-crossplane
spec:
  forProvider:
    region: $(AWS_DEFAULT_REGION)
    description: SecurityGroup
    groupName: $(EKS_CLUSTER_NAME)-catalog-crossplane
    vpcId: $(VPC_ID)
    ingress:
      - fromPort: 3306
        toPort: 3306
        ipProtocol: tcp
        ipRanges:
          - cidrIp: "$(VPC_CIDR)"
    egress:
      # AWS will treat it as all ports any protocol
      - ipProtocol: '-1'
        ipRanges:
          - cidrIp: "0.0.0.0/0"
    tags:
    - key: created-by
      value: eks-workshop-v2
    - key: env
      value: $(EKS_CLUSTER_NAME)
    - key: managed-by
      value: crossplane
  providerConfigRef:
    name: aws-provider-config
The EC2 security group above allows any traffic from the CIDR range of the VPC used by the EKS cluster. This has been done to keep the example clear and understandable. A more secure approach would be to use Security Groups for Pods to allow traffic from specific pods.
Next, we want the RDS database to use the private subnets in our VPC. We'll create a database.aws.crossplane.io.DBSubnetGroup which selects the appropriate subnet IDs:
apiVersion: database.aws.crossplane.io/v1beta1
kind: DBSubnetGroup
metadata:
  name: $(EKS_CLUSTER_NAME)-catalog-crossplane
spec:
  forProvider:
    region: $(AWS_DEFAULT_REGION)
    description: DBSubnet group
    subnetIds:
    - $(VPC_PRIVATE_SUBNET_ID_0)
    - $(VPC_PRIVATE_SUBNET_ID_1)
    - $(VPC_PRIVATE_SUBNET_ID_2)
    tags:
    - key: created-by
      value: eks-workshop-v2
    - key: env
      value: $(EKS_CLUSTER_NAME)
    - key: managed-by
      value: crossplane
  providerConfigRef:
    name: aws-provider-config
Finally, we can create the configuration for the RDS database itself with a rds.aws.crossplane.io.DBInstance resource:
apiVersion: rds.aws.crossplane.io/v1alpha1
kind: DBInstance
metadata:
  name: $(EKS_CLUSTER_NAME)-catalog-crossplane
spec:
  forProvider:
    region: $(AWS_DEFAULT_REGION)
    allocatedStorage: 20
    dbInstanceClass: db.t4g.micro
    dbName: catalog
    engine: mysql
    engineVersion: "8.0"
    masterUsername: admin
    autogeneratePassword: true
    skipFinalSnapshot: true
    applyImmediately: true
    dbSubnetGroupNameRef:
      name: $(EKS_CLUSTER_NAME)-catalog-crossplane
    vpcSecurityGroupIDRefs:
      - name: $(EKS_CLUSTER_NAME)-catalog-crossplane
    masterUserPasswordSecretRef:
      key: password
      name: catalog-db-crossplane
      namespace: catalog
    tags:
    - key: created-by
      value: eks-workshop-v2
    - key: env
      value: $(EKS_CLUSTER_NAME)
    - key: managed-by
      value: crossplane
  writeConnectionSecretToRef:
    name: catalog-db-crossplane
    namespace: catalog
  providerConfigRef:
    name: aws-provider-config
Apply this configuration to the EKS cluster:
dbsubnetgroup.database.aws.crossplane.io/rds-eks-workshop created
securitygroup.ec2.aws.crossplane.io/rds-eks-workshop created
dbinstance.rds.aws.crossplane.io/rds-eks-workshop created
The Crossplane controllers in the cluster will react to these new resources and provision the AWS infrastructure it has expressed. For example, we can use the AWS CLI to query the RDS database:
It takes some time to provision the AWS managed services, in the case of RDS up to 10 minutes. Crossplane will report the status of the reconciliation in the status field of the Kubernetes custom resources.
We can use this status field to instruct kubectl to wait until the RDS database has been successfully created:
dbinstances.rds.services.k8s.aws/rds-eks-workshop condition met
Crossplane will have automatically created a Kubernetes Secret object that contains the credentials to connect to the RDS instance:
apiVersion: v1
data:
endpoint: cmRzLWVrcy13b3Jrc2hvcC5jamthdHFkMWNucnoudXMtd2VzdC0yLnJkcy5hbWF6b25hd3MuY29t
password: eGRnS1NNN2RSQ3dlc2VvRmhrRUEwWDN3OXpp
port: MzMwNg==
username: YWRtaW4=
kind: Secret
metadata:
creationTimestamp: "2023-01-26T15:12:41Z"
name: catalog-db-crossplane
namespace: catalog
ownerReferences:
- apiVersion: rds.aws.crossplane.io/v1alpha1
controller: true
kind: DBInstance
name: rds-eks-workshop
uid: bff607d9-86f2-4710-aabd-e60985b56995
resourceVersion: "28395"
uid: 1407281b-d282-42d8-b898-733400d3d11a
type: connection.crossplane.io/v1alpha1
Update the application to use the RDS endpoint and credentials:
namespace/catalog unchanged
serviceaccount/catalog unchanged
configmap/catalog unchanged
secret/catalog-db unchanged
service/catalog unchanged
service/catalog-mysql unchanged
service/ui-nlb created
deployment.apps/catalog configured
statefulset.apps/catalog-mysql unchanged
An NLB has been created to expose the sample application for testing:
k8s-ui-uinlb-a9797f0f61.elb.us-west-2.amazonaws.com
To wait until the load balancer has finished provisioning you can run this command:
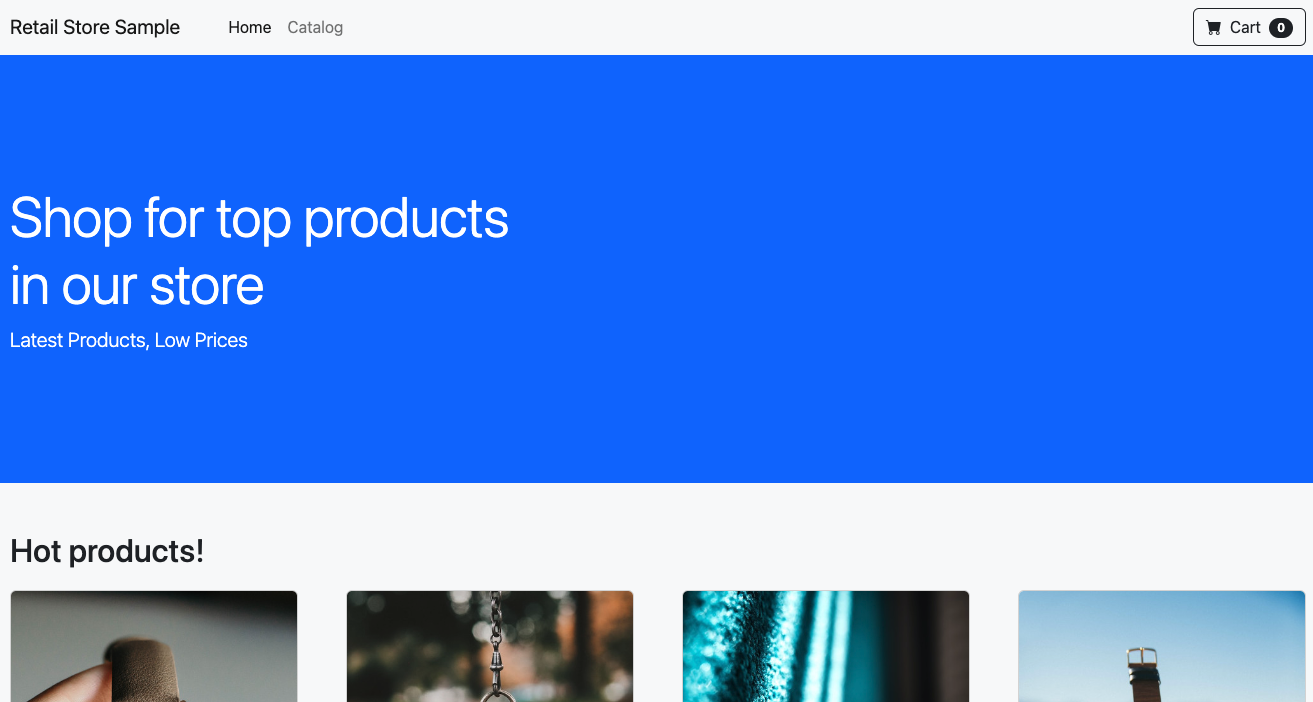
Once the load balancer is provisioned you can access it by pasting the URL in your web browser. You will see the UI from the web store displayed and will be able to navigate around the site as a user.
